Introdução
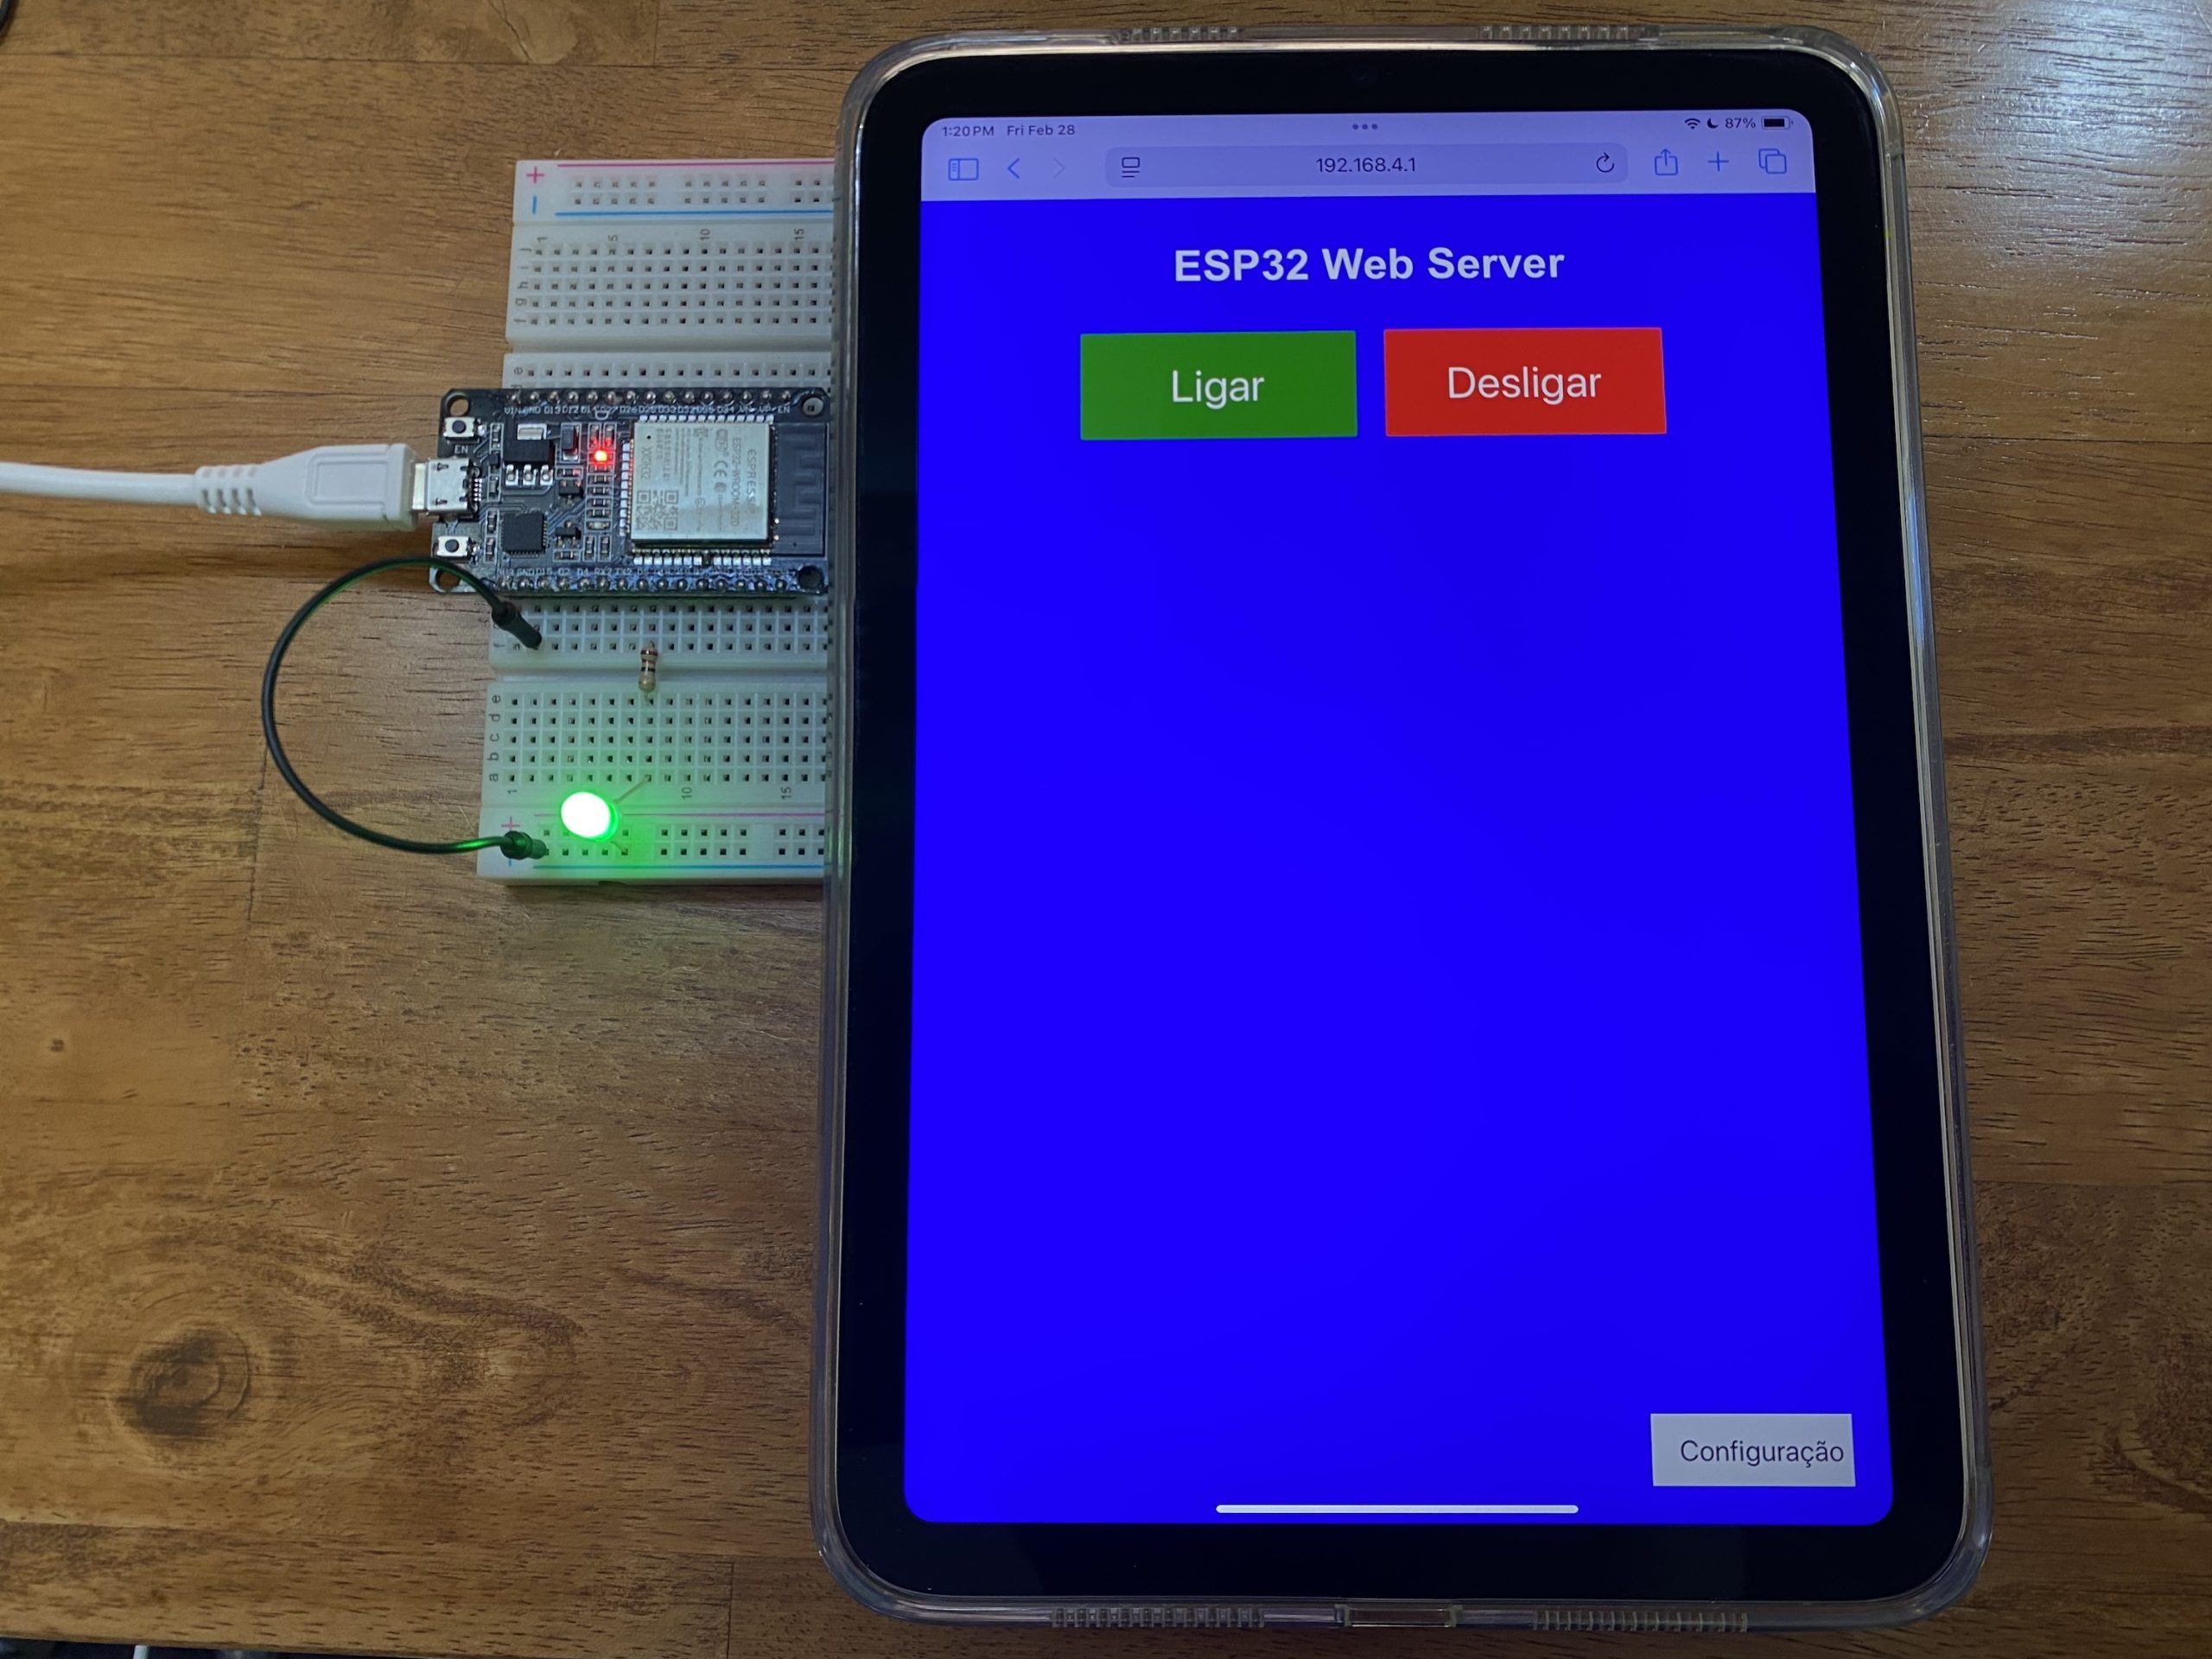
Neste tutorial, você aprenderá a configurar o ESP32 no modo Access Point (AP) e hospedar um servidor web para controlar um LED. Além disso, a página web permitirá a alteração do SSID e da senha WiFi, para que o nome da rede e a senha possam ser ajustados sem necessidade de reprogramar o ESP32.
Materiais Necessários
- 1 ESP32
- 1 LED verde
- 1 Resistor de 220Ω
- 1 Protoboard (opcional)
- Fios Jumpers
- Cabo USB para programar o ESP32
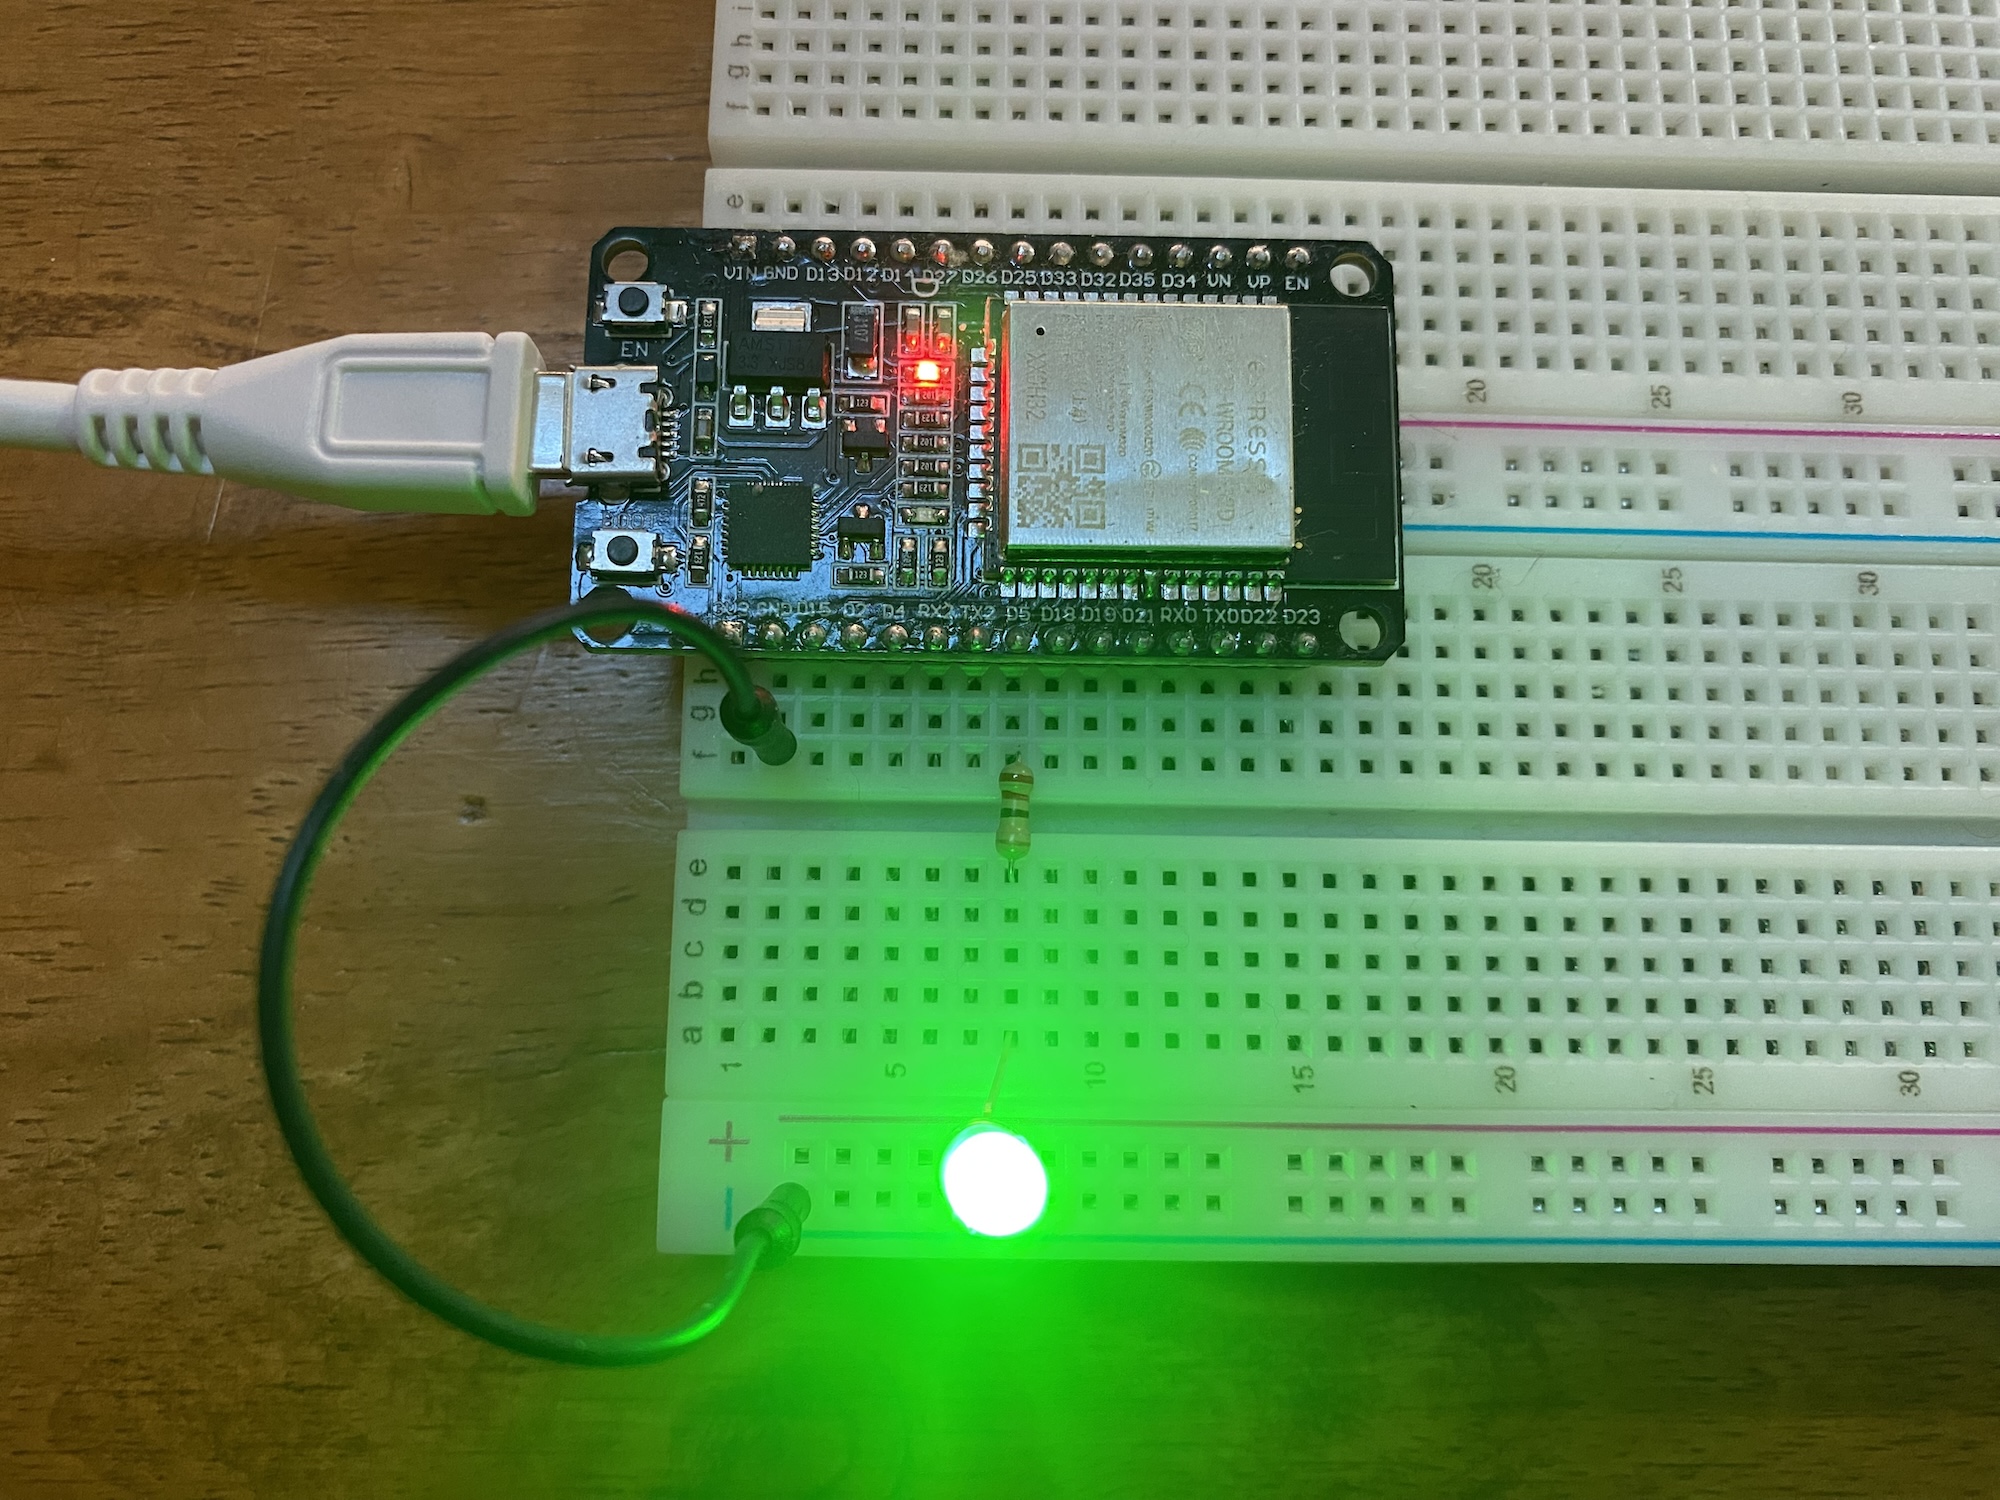
Esquema de Ligação
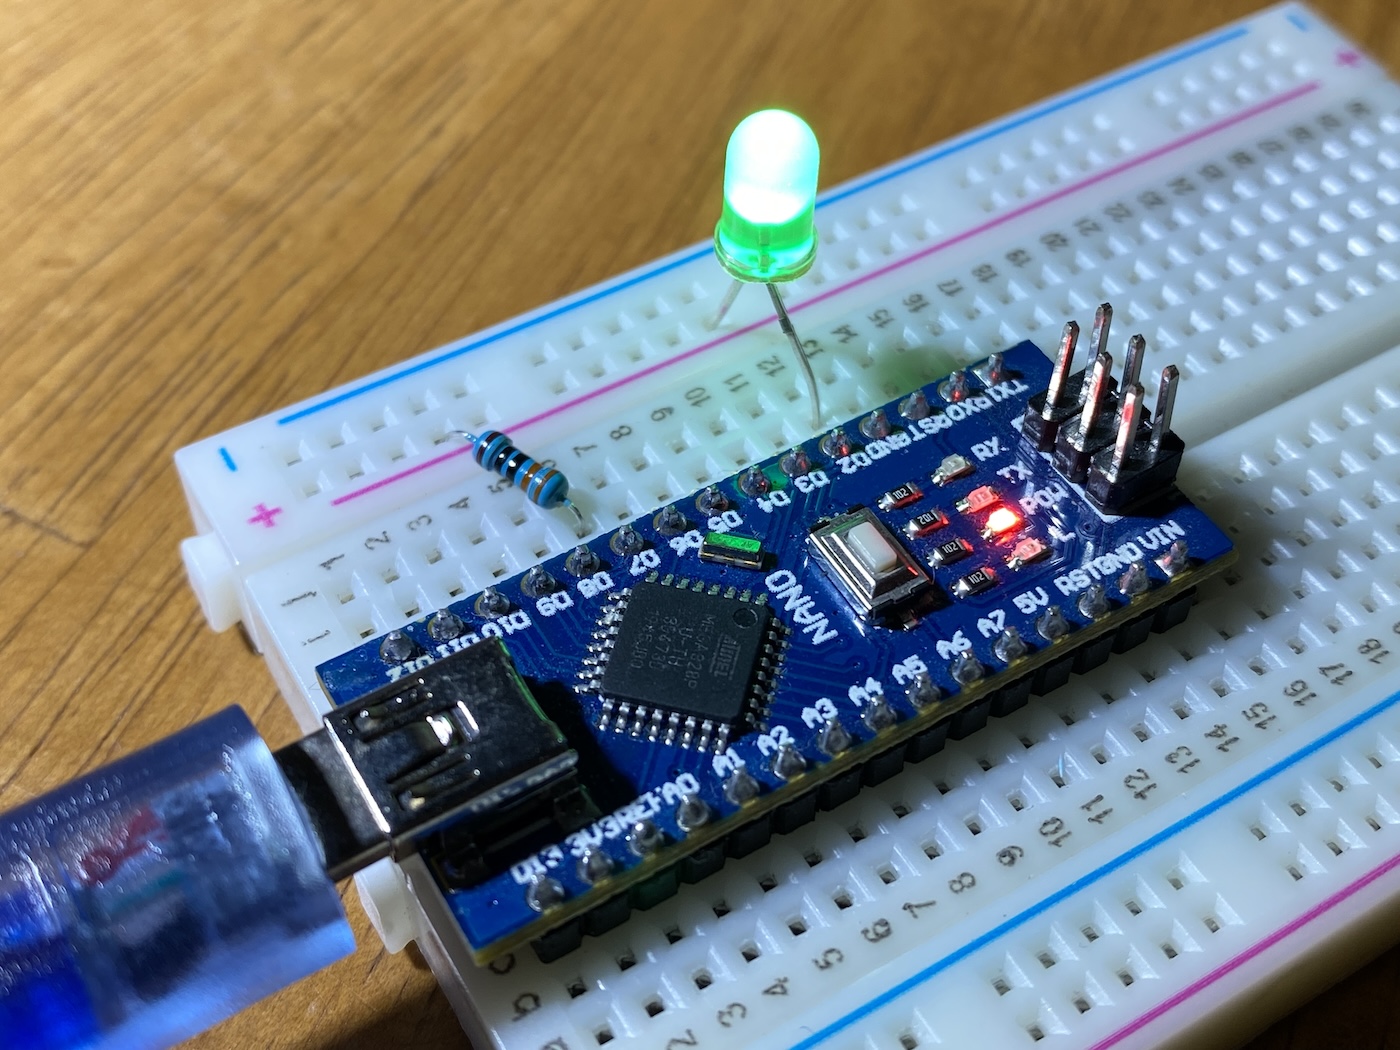
Conecte o anodo (perna longa) do LED ao pino D5 (GPIO5) do ESP32 através do resistor de 220Ω. O catodo (perna curta) do LED deve ser conectado ao GND do ESP32.
Código Fonte
A seguir, o código completo para configurar o ESP32 como Access Point com um servidor web, permitindo ligar e desligar o LED e alterar as configurações de rede pelo navegador:
#include <WiFi.h>
#include <WebServer.h>
#include <Preferences.h>

Preferences preferences;
WebServer server(80);

String storedSSID;
String storedPassword;

#define LED_PIN 5

void loadWiFiCredentials() {
  preferences.begin("wifi", false);
  storedSSID = preferences.getString("ssid", "ESP32");  // SSID padrão
  storedPassword = preferences.getString("password", "12345678");  // Senha padrão
  preferences.end();
}

void saveWiFiCredentials(String newSSID, String newPassword) {
  preferences.begin("wifi", false);
  preferences.remove("ssid");
  preferences.remove("password");
  preferences.putString("ssid", newSSID);
  preferences.putString("password", newPassword);
  preferences.end();
}

void handleRoot() {
  String html = "<!DOCTYPE html><html><head><meta charset='UTF-8'>";
  html += "<title>ESP32 Web Server</title>";
  html += "<style>body { text-align: center; background-color: blue; font-family: Arial, sans-serif; color: white; }";
  html += "h1 { margin-top: 50px; font-size: 48px; }";
  html += "button { font-size: 48px; width: 300px; height: 120px; margin: 15px; border: none; cursor: pointer; }";
  html += "#on { background-color: green; color: white; }";
  html += "#off { background-color: red; color: white; }";
  html += "#settings { position: fixed; bottom: 20px; right: 20px; background-color: lightgrey; color: black; font-size: 28px; width: 200px; height: 70px; }";
  html += "</style></head><body>";
  html += "<h1>ESP32 Web Server</h1>";
  html += "<button id='on' onclick='fetch(\"/on\")'>Ligar</button>";
  html += "<button id='off' onclick='fetch(\"/off\")'>Desligar</button>";
  html += "<button id='settings' onclick='location.href=\"/settings\"'>Configuração</button>";
  html += "</body></html>";
  server.send(200, "text/html", html);
}

void handleSettings() {
  String html = "<!DOCTYPE html><html><head><meta charset='UTF-8'><title>Configuração</title>";
  html += "<style>";
  html += "body { text-align: center; font-family: Arial, sans-serif; font-size: 36px; padding: 30px; }";
  html += "h1 { font-size: 50px; }";
  html += "form { display: flex; flex-direction: column; align-items: center; }";
  html += "input { font-size: 36px; padding: 10px; margin: 10px; width: 80%; text-align: center; }";
  html += "input[type=submit] { width: 50%; height: 80px; background-color: green; color: white; border: none; cursor: pointer; font-size: 36px; }";
  html += "</style></head><body>";
  html += "<h1>Alterar Configuração WiFi</h1>";
  html += "<form action='/update_wifi' method='POST'>";
  html += "Novo SSID: <input type='text' name='ssid' value='" + storedSSID + "'><br><br>";
  html += "Nova Senha: <input type='password' name='password'><br><br>";
  html += "<input type='submit' value='Salvar e Reiniciar'>";
  html += "</form></body></html>";
  server.send(200, "text/html", html);
}

void handleUpdateWiFi() {
  if (server.hasArg("ssid") && server.hasArg("password")) {
    String newSSID = server.arg("ssid");
    String newPassword = server.arg("password");

    saveWiFiCredentials(newSSID, newPassword);

    // Updated response page with UTF-8 to fix encoding issue
    String html = "<!DOCTYPE html><html><head><meta charset='UTF-8'>";
    html += "<title>Configuração Atualizada</title>";
    html += "<style>body { text-align: center; font-family: Arial, sans-serif; font-size: 36px; padding: 30px; }</style>";
    html += "</head><body>";
    html += "<h1>Configuração WiFi Atualizada!</h1>";
    html += "<p>Reiniciando...</p>";
    html += "</body></html>";

    server.send(200, "text/html", html);

    delay(3000);
    ESP.restart();  // Reinicia o ESP32 para aplicar as novas credenciais
  } else {
    server.send(400, "text/html", "<h1>Erro!</h1><p>Campos ausentes.</p>");
  }
}

void setup() {
  Serial.begin(115200);
  loadWiFiCredentials();  // Carrega o SSID e a senha salvos

  WiFi.softAP(storedSSID.c_str(), storedPassword.c_str());  // Configura o AP com o SSID e senha
  Serial.println("Ponto de Acesso iniciado com SSID: " + storedSSID);
  Serial.print("Endereço IP: ");
  Serial.println(WiFi.softAPIP());

  pinMode(LED_PIN, OUTPUT);
  digitalWrite(LED_PIN, LOW);

  server.on("/", handleRoot);
  server.on("/settings", handleSettings);
  server.on("/update_wifi", HTTP_POST, handleUpdateWiFi);
  server.on("/on", [](){ digitalWrite(LED_PIN, HIGH); server.send(200, "text/plain", "LED ligado"); });
  server.on("/off", [](){ digitalWrite(LED_PIN, LOW); server.send(200, "text/plain", "LED desligado"); });

  server.begin();
  Serial.println("Web server started!");
}

void loop() {
  server.handleClient();
}
Agora seu ESP32 está configurado para funcionar como um Access Point, permitindo o controle do LED e a alteração das configurações WiFi pelo navegador.